
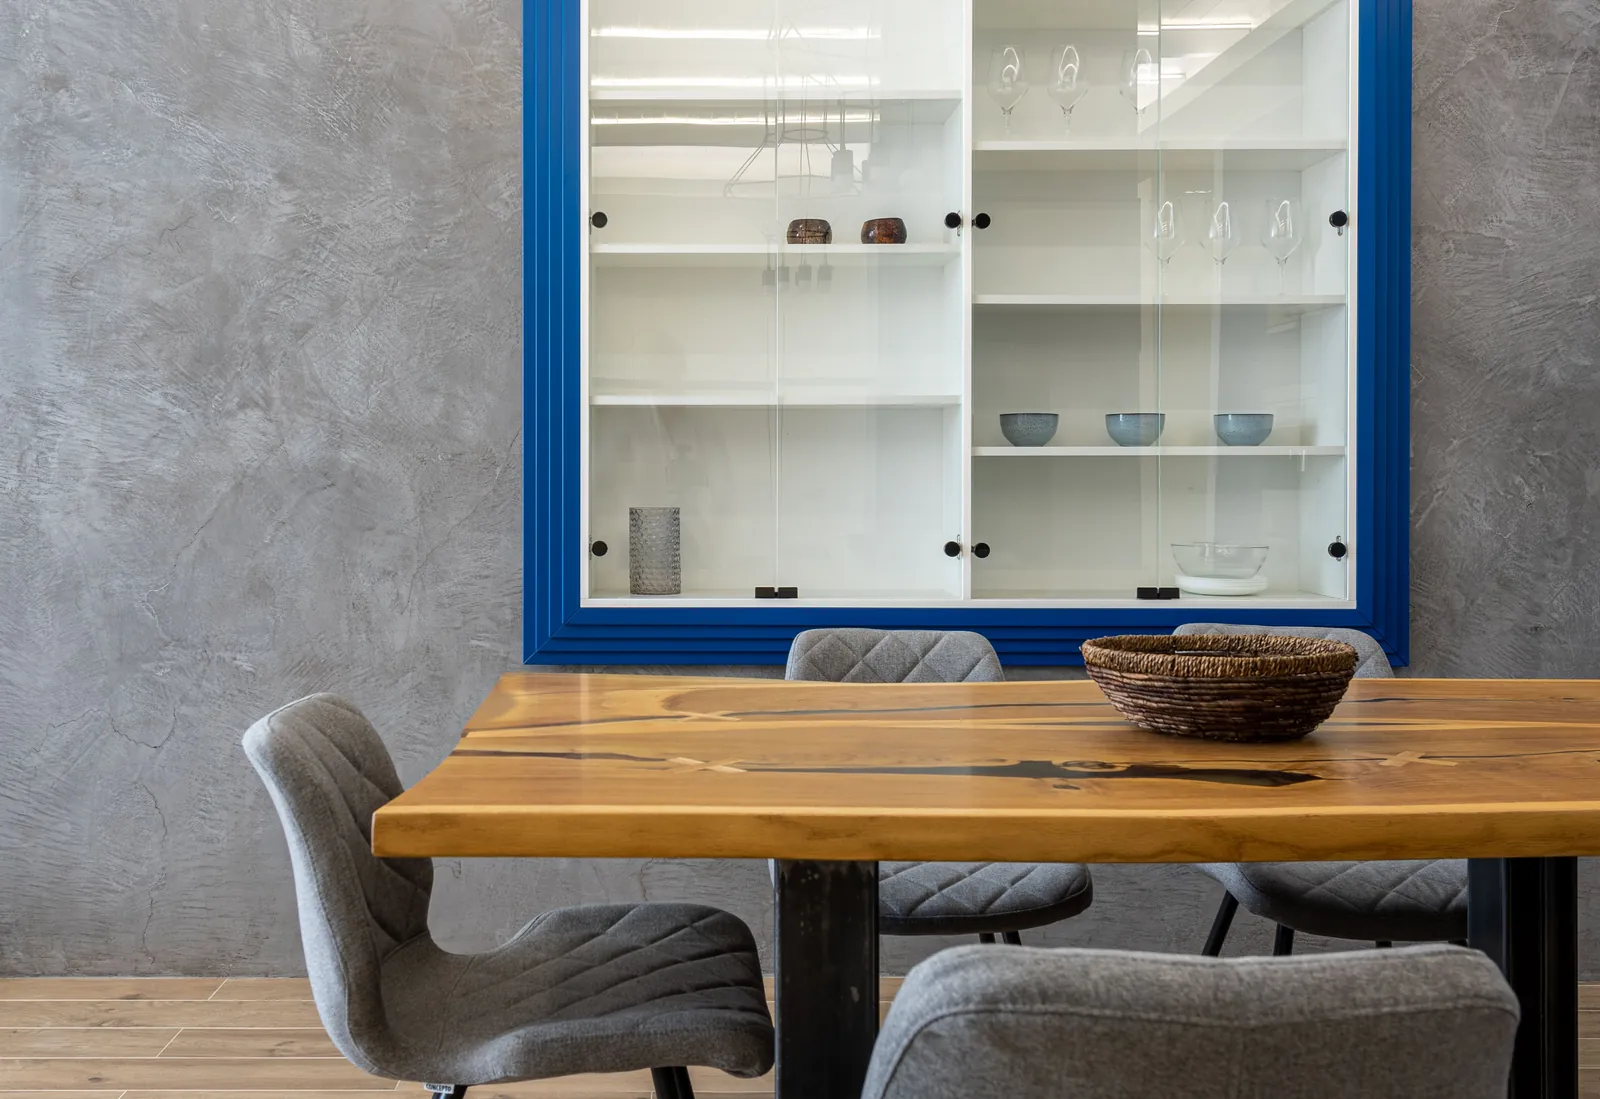
Would you like to make your own sliding glass doors for a display cabinet, bookcase, terrarium or piece of furniture? With the right sliding window fittings, properly measured glass and neat installation, this can easily be done yourself. The basis is simple: you use a deep top profile, a shallow bottom profile and two glass plates that overlap by a few centimeters in the middle. For the glass plates, preferably choose flat poly-cut glass, because you often touch the edges during opening and closing.
In this article we explain step by step which parts you need, how to determine the sizes and how to safely install the sliding glass doors with the lift & drop method.
What do you use sliding glass doors for?
Sliding glass doors are often used in furniture and display cases. They protect the contents from dust, but ensure that everything remains visible. Common applications include:
- Display cabinets
- Bookcases
- Dressers
- Terrariums
- Shop showcases
- Counters
- Wall cabinets
- Collection cabinets
- Model building cabinets
- Catering displays
The big advantage of sliding doors is that they take up little space. You don't have to keep a turning circle free, as with regular cupboard doors.
Which parts do you need?
For simple glass sliding doors you usually need four parts: a top profile, a bottom profile, glass plates and possibly a lock or handle. You also need tools to cut and install the profiles.
| Part | Function |
|---|---|
| Top profile | Holds the glass at the top and gives room to lift the glass in |
| Subprofile | Guides the glass at the bottom |
| Glass plates | The sliding doors themselves |
| Slide-on lock | Optional, for closing the cabinet |
| Handle or finger cup | Optional, for easier opening |
| Screws, tape or sealant | For mounting the profiles |
The necessary fittings and profiles can be found at display and furniture fittings.
Tools required
- Tape measure
- Pencil
- Fine metal saw
- File or sandpaper
- Drilling machine
- Screwdriver
- Spirit level
- Work gloves
- Possibly glass vacuum cleaners for larger windows
Always work quietly. Glass is strong, but the edges remain vulnerable to impacts. You can find mounting materials and tools at glass articles.
How does a sliding window system work?
A sliding window system consists of two profiles: one above and one below. The top profile is deeper than the bottom profile. It was deliberately made that way. You first lift the glass plate up into the deep top profile. Then lower the bottom into the shallow bottom profile. This method of installation is often called the lift & drop method.
The deep profile surfaces. The shallow profile comes under.
If you install this incorrectly, you will not be able to place the windows properly or they may even fall out of the system.
Which glass do you use for sliding doors?
For sliding glass doors, it is preferable to use flat poly cut glass. The reason is simple: you often touch the sides of the doors when you slide them open and closed. Sharp, unprocessed edges can cut you. Flat poly cut glass has smooth, safe edges and looks much neater. In our configurator you choose this finish as "Polished (flat poly)" when you assemble your custom glass; specify any drillings for a handle or lock in the same step.
float glass is often used for sliding doors, but the correct thickness depends on the size. If you want extra sturdy or safe doors, you can also choose tempered glass.
| Application | Commonly used thickness |
|---|---|
| Small display cabinet | 4 mm |
| Medium closet | 4–6 mm |
| Larger sliding window | 6 mm |
| Heavy or high window | 6–8 mm, depending on system |
Are you unsure about the correct thickness? Then read which glass thickness you need. For very large windows, a system with rollers or aluminum rails may be more sensible. Ordinary glass that slides directly over a plastic rail can become stiff with heavy weights.
Why do the edges have to be sharpened?
With sliding doors, the edges remain visible and accessible. You often use the edges to move the window. Sharpened edges ensure:
- Less danger of cutting
- Better appearance
- More pleasant use
- Less chance of minor edge damage
- A professional finish
Sharp edges are only suitable if the glass edge disappears completely into a frame or profile. This is usually not the case with sliding doors. Therefore, almost always choose flat poly cut glass. You can read more information in edge finishing: sharp edges or ground.
How do you measure the cabinet?
Proper measuring is the most important step. Always measure the internal dimension of the opening where the sliding doors will be placed. You need:
- The tight inner width
- The sleek interior height
- The depth of the top profile
- The height of the bottom profile
- The desired overlap between the panes
Measure the width in several places (top, middle and bottom) and the height in several places (left, middle and right). Use the smallest size. Furniture may be slightly crooked, especially wooden cabinets. A detailed explanation can be found in measuring glass.
How wide should the glass doors be?
With two sliding doors, the glass panels must overlap each other in the middle. Without overlap you get an open crack between the windows. An overlap of 2 to 3 cm is often sufficient.
Example: the cabinet opening is 1000 mm wide and you want 30 mm overlap. Then you calculate:
- 1000 mm + 30 mm overlap = 1030 mm
- 1030 mm ÷ 2 = 515 mm per glass plate
You then order two glass plates of approximately 515 mm wide. Please note: this is a general calculation. Always check whether your profile or sliding window system has specific size requirements.
How high should the glass doors be?
The height depends on the top and bottom profile. The glass must be high enough to stay in the rails, but low enough to be able to be placed. Because the top profile is deeper, you can first lift the glass up and then lower it into the bottom profile. General approach:
- Measure the tight interior height of the cabinet.
- Check the profile dimensions.
- Take the insertion depth of the top and bottom profile into account.
- Make sure the glass has sufficient clearance to be placed.
- Always follow the dimensions of the chosen rail system.
If in doubt, it is wise to follow the product information in the profile or ask for advice before ordering.
Step 1: saw profiles to size
Sliding fruit profiles are often supplied in standard lengths, for example 2000 mm or 5000 mm. You cut them to size yourself. This is how you do it:
- Measure the tight interior width of the cabinet.
- Mark the size on the profile.
- Use a fine metal saw for aluminum or plastic.
- Saw calmly and straight.
- File the cut smooth.
- Remove sharp burrs.
Burrs can scratch the glass or make it difficult to slide.
Step 2: install top profile
First mount the top profile. This is the deep profile. Check that the profile:
- Sit straight
- Securely attached
- Supported over the full width
- Does not lean forward or backward
- Aligns well with the bottom profile
For light plastic profiles you can sometimes use double-sided tape or mounting kit. For heavier aluminum profiles, screwing is often better. Use countersunk screws so that the screw heads do not protrude.
Step 3: install the bottom profile
Then you mount the bottom profile. This is the shallow profile into which the glass slides or runs. Make sure that the bottom profile is exactly below the top profile. If the profiles do not align properly, the windows will become crooked or stick. Check with a spirit level whether the bottom profile is straight.
When mounting with screws:
- Pre-drill small holes
- Use countersunk screws
- Make sure that screw heads do not protrude above the profile
- Check whether the glass can slide freely
Step 4: installing glass with the lift & drop method
Once the profiles are securely attached, you can install the glass. This is how the lift & drop method works:
- Put on work gloves.
- Grasp the glass plate with both hands.
- Place the top at an angle in the deep top profile.
- Lift the glass plate as far as possible.
- Bring the bottom above the bottom profile.
- Gently lower the glass plate into the bottom rail.
- Check whether the window slides smoothly.
- Repeat this with the second glass plate.
Usually place the rear window first and then the front window. Use glass vacuum cleaners for large windows.
How much overlap do the doors need?
An overlap of 20 to 30 mm is usually nice and practical. For small cabinets, a little less can sometimes be sufficient. In larger display cases, a little more overlap is often neater.
Too little overlap causes:
- A visible crack
- Dust in the closet
- Less neat appearance
- Less stability
Too much overlap causes:
- Less wide opening
- Sliding more heavily
- Less practical use
For most display cabinets, a 2 to 3 cm overlap is a good choice.
How do you prevent the windows from running smoothly?
Sliding glass doors can be difficult to move due to dirt, rough sawn edges, crooked profiles or glass that is too heavy. First check:
- Are the profiles straight?
- Are there any screws sticking out?
- Is there dust or sawdust in the rail?
- Are the profile ends smooth?
- Is the glass not too heavy for the system?
- Does the glass run in the correct groove?
For plastic rails, a little bit of silicone spray can help. Use little, because too much spray attracts dust. An old trick is to lightly rub a candle through the bottom slot.
Can you close the sliding doors?
Yes, that's possible. You can often use a sliding lock for display cabinets and displays. This lock clamps onto the edge of the front glass and prevents the windows from simply sliding open. A sliding lock is useful for:
- Shop showcases
- Collection cabinets
- Office showcases
- Cupboards with vulnerable items
- Terrariums
- Displays
Make sure that the lock matches the glass thickness. You can find suitable locks at display and furniture fittings.
Common mistakes with sliding glass doors
- Switch top and bottom profile — The deep profile must be on top. The shallow profile must be underneath.
- Do not count on overlap — Without overlap, an open gap will be created between the glass plates.
- Order sharp edges — With sliding doors you often touch the edges. Therefore choose flat poly cut glass.
- Installing profiles crookedly — If the rails are not straight and parallel, the windows will stick.
- Leave screw heads protruding — Protruding screws can damage or block the glass.
- Choose glass that is too thin or too thick — Glass that is too thin feels weak. Glass that is too thick can become too heavy for the profile.
- Do not finish sawn edges — Burrs on the profile can cause scratches or rough sliding.
Checklist before you order
- What is the inside width of the cabinet?
- What is the interior height?
- Are the top and bottom straight?
- Which profile are you using?
- How deep is the top profile?
- How much overlap do you want?
- What glass thickness fits the profile?
- Do you choose flat poly cut edges?
- Do you need a lock?
- Can you place the glass plates safely?
- Does the system fit the weight of the glass?
Conclusion
Making your own sliding glass doors for a display cabinet is easy to do if you measure carefully and use the right system. The base consists of a deep top profile, a shallow bottom profile and two glass plates that overlap in the middle. Choose flat poly cut glass, because the edges are visible and touchable. Cut the profiles neatly to size, mount them straight underneath each other and place the glass using the lift & drop method.
Do you want a sleek and safe result? Please check the dimensions, glass thickness, profile choice and overlap before ordering.
Get started yourself? Order your custom glass with flat poly cut edges and find the suitable sliding window fittings and profiles for your display cabinet.
Further reading: