A custom mirror is ideal if you want a sleek mirror that fits exactly in your bathroom, hallway, bedroom, cupboard door or interior project. You determine the size, shape, edge finish and installation yourself. This allows you to make a mirror that fits much better than a standard mirror from the store.
The short rule is: measure the area accurately, choose the correct thickness, finish visible edges neatly and always use suitable mirror sealant or mirror mounting. In this article we explain what you should pay attention to with a custom mirror, which thickness is suitable, which edge finish you choose and how to prevent damage during installation.
What is a custom mirror?
A custom mirror is a mirror that is specially made in the size and shape that you need. This can be a simple rectangular mirror, but also a round mirror, a mirror with rounded corners or a mirror for a niche.
Custom mirrors are often used for:
- bathrooms and toilet areas
- make-up corners and bedrooms
- wardrobes and sliding doors
- gyms, shops and catering establishments
- custom interiors and wall decoration
The big advantage is that you are not stuck with standard sizes. The mirror can fit exactly between tiles, furniture, lighting or walls.
What thickness of mirror glass do you need?
Mirrors are often made of glass that is 4 mm or 6 mm thick. The thickness you choose depends on the size and application.
| Thickness | When to choose? |
|---|---|
| 4 mm | Small to medium mirrors |
| 6 mm | Larger mirrors or more luxurious appearance |
| 8 mm | Heavy or special applications |
| Safety mirror | For intensive use or public areas |
For most bathroom mirrors, 4 mm mirror glass is sufficient. With larger mirrors, 6 mm often feels sturdier and more luxurious. A large, thin mirror can feel vulnerable more quickly. That is why it is wise to choose slightly thicker glass for wide or high mirrors or to ensure a completely flat back wall.
Want to know more about glass thicknesses in general? Then read which glass thickness you need.
When do you choose 4 mm mirror?
A 4 mm mirror is suitable for many standard applications. Select 4 mm for:
- small bathroom mirrors and toilet mirrors
- cabinet mirrors and make-up mirrors
- wall mirrors with normal dimensions
- mirrors that are glued completely flat
4 mm mirror glass is relatively light and easy to process. This is the most commonly chosen thickness for many homes.
When do you choose 6 mm mirror?
A mirror of 6 mm is sturdier and feels more luxurious. This thickness is often chosen for larger mirrors or mirrors that need to have more appearance. Select 6 mm for:
- large bathroom mirrors and wide wall mirrors
- high full-length mirrors
- mirrors in shops and gyms
- mirrors without a frame or with visible edges
A 6 mm mirror is heavier. Therefore, always check whether the wall and mounting are suitable for the weight.
Which edge finish do you choose?
With a custom mirror, the edges are important. Especially if the mirror is placed without a frame, the edges remain visible and touchable.
| Edge finishing | Application |
|---|---|
| Cut edge | Only if the edge is completely concealed |
| Rounded sharp edges | Basic finish |
| Flat ground | Neat matte edge |
| Flat poly cut | Smooth, glossy luxury edge |
| Facet cut | Decorative bevel |
For a visible mirror edge, flat poly cut is often the best choice. The edge is smooth, neat and has a professional look. Would you like to better understand the difference between sharp and ground edges? Read edge finishing of glass: sharp edges or ground.
What is a faceted mirror?
With a faceted mirror, the edge is bevelled. This creates a decorative edge around the mirror. This gives a classic and luxurious look. Faceted mirrors are often chosen for:
- bathrooms with a classic style
- hotels and hall mirrors
- decorative wall mirrors and make-up tables
- mirrors without frame
A facet is less suitable for a completely minimalist bathroom, but can be very beautiful in a luxurious or traditional interior.
Straight mirror or mirror with round corners?
A rectangular mirror is sleek and timeless. But rounded corners can make the mirror softer and safer.
Choose right corners for:
- modern bathrooms and sleek wall mirrors
- mirrors between tiles
- minimalist interiors
Choose rounded corners for:
- mirrors in children's areas and full-length mirrors
- mirrors on cupboard doors
- soft interior styles
- places where you walk past the mirror
A neat edge finish is extra important at visible corners.
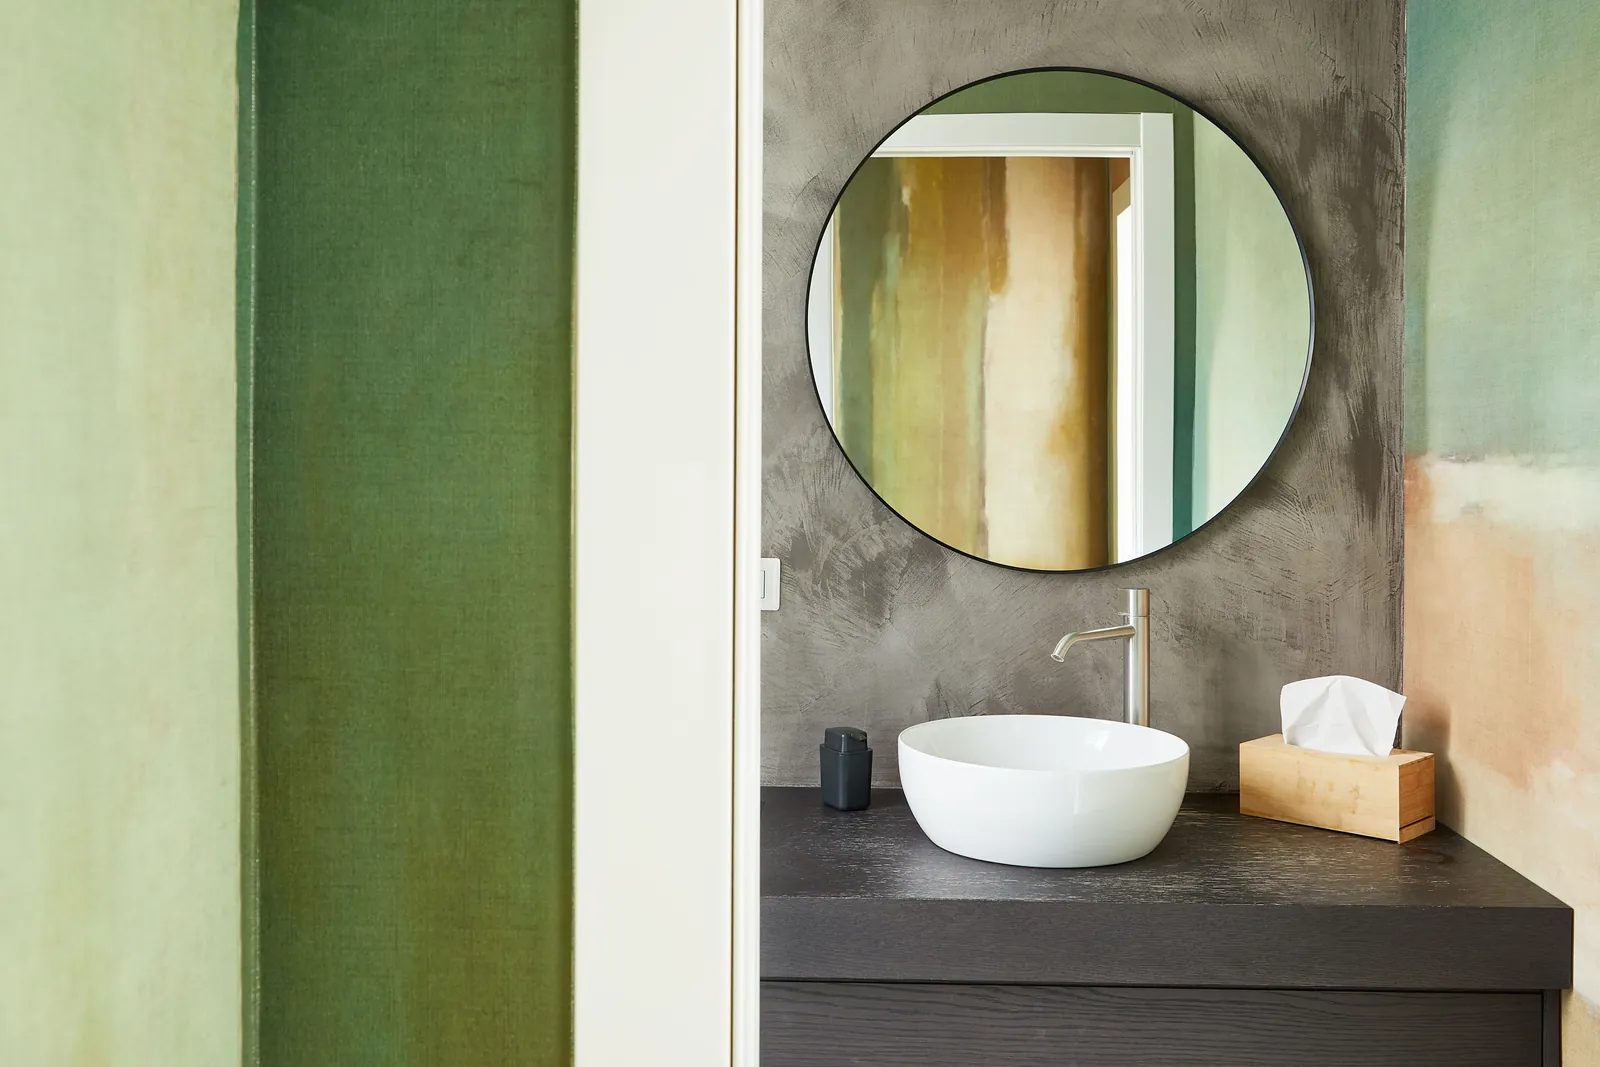
Custom round mirror
A round mirror gives a softer look than a rectangular mirror. This is especially popular in bathrooms and halls. Please note with a round mirror:
- diameter and wall space all around
- height above the sink
- lighting and edge finishing
- mounting and weight
A round mirror is often used as an eye-catcher. Therefore, make sure that the diameter fits well with the furniture underneath. Above a washbasin, the mirror should not be too small, otherwise it will look out of proportion.
Mirror in the bathroom
A mirror in the bathroom has to deal with moisture, steam and temperature differences. That is why proper installation is important. NB:
- sufficient ventilation and a flat surface
- suitable, non-aggressive mirror kit
- space behind the mirror for drying
- a good connection all around
- do not completely confine without ventilation
- prevention of water behind the mirror
Bathroom mirrors can develop black edges over time as moisture affects the reflective layer. You can prevent this by using the correct kit and mounting method. Also take a look at our bathroom and shower category for matching solutions.
What kit do you use for a mirror?
Always use mirror sealant or a special acid-free mirror adhesive. Ordinary mounting sealant or acidic silicone sealant can damage the reflective layer.
Rule of thumb: always use acid-free mirror sealant or a suitable mirror mounting. Regular or acidic sealant attacks the mirror layer and leaves permanent black or brown spots on the front of the mirror — you cannot repair that damage.
The wrong kit can cause:
- black spots and brown edges
- damage to the mirror layer
- letting go of the mirror
- permanent damage
So don't choose a random kit, but a kit that is explicitly suitable for mirrors. Are you unsure about which kit goes where? Read which kit you use for what. You can find suitable mirror adhesive and mirror mounting in our glass articles.
How do you apply mirror sealant?
Mirror sealant is usually applied in vertical strips. This ensures that air can circulate behind the mirror and any moisture can disappear. Do not work with completely closed sealant edges around the entire mirror, because then moisture can become trapped behind the mirror.
General method:
- Clean the wall, dry and free of grease.
- Check whether the wall is flat enough.
- Apply mirror sealant in vertical strips.
- Keep sufficient distance between the sealant strips.
- Place the mirror quietly against the wall.
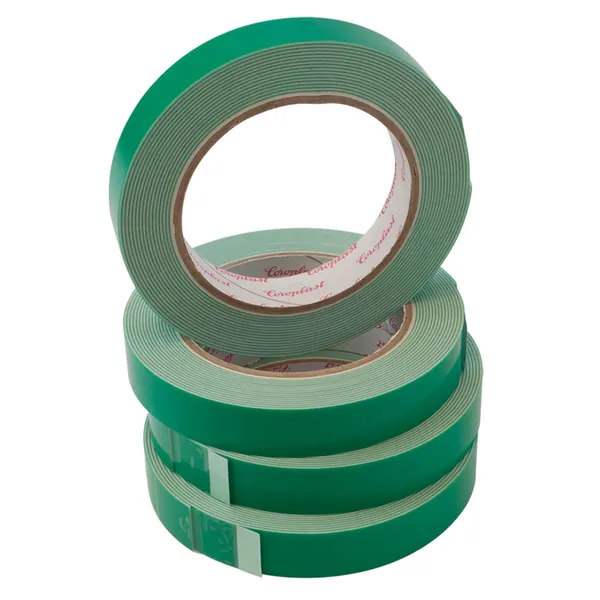
- Support the mirror temporarily.
- Allow the sealant to harden completely.
- Check that the mirror is securely attached.
Use temporary support, such as blocks or tape, until the sealant has hardened sufficiently.
Mount mirror with clips or clamps
In addition to gluing, you can also mount a mirror with mirror clips or clamps. This is useful if you want to be able to remove the mirror later. You can find suitable mirror clips and mounting materials at glass articles.
Benefits of clips:
- the mirror is replaceable
- no sealant on the back
- suitable for some surfaces
- less risk of damage due to incorrect glue
- easier to disassemble
Disadvantages of clips:
- clips remain visible
- less tight than gluing
- precise placement required
- not every clip fits every thickness
For a very sleek bathroom look, bonding is often chosen. Clips can be useful for practical or temporary applications.
Mirror with holes, lighting or on tiles
Mirror with holes
Sometimes you want a mirror with holes, for example for screw mounting, lighting or accessories. Holes must be made in advance — you can't just drill into mirror glass afterwards without risking breakage. You therefore immediately include drillings, rounded corners and a facet when you put together your custom mirror. Please note:
- diameter of the hole and distance from the edge
- position of the holes
- screw or spacer type
- protective rings
- weight of the mirror and the mounting surface
Make sure that metal never clamps directly against glass. Use rubber or plastic protection.
Mirror with lighting
A mirror with lighting requires extra preparation. Sometimes the lighting is placed behind the mirror, sometimes next to it or above it. NB:
- space behind the mirror and cable entry
- position of the electricity
- moisture resistance
- distance to sink or shower
- safe installation and accessibility for maintenance
In bathrooms, electricity must always be suitable for damp areas. If in doubt, have this assessed by a professional.
Place mirror on tiles
A mirror is often placed on tiles. That is fine, as long as the tiles are clean, flat and properly secured. NB:
- degrease the tiles well
- remove soap residue and limescale
- check that tiles do not sound hollow
- use suitable mirror kit
- support the mirror during curing
- make sure the mirror is not resting on a hard edge
It is better not to place the mirror tightly on the washbasin top. Leave a small space free so that water does not collect directly against the bottom edge.
Special places: alcove and cupboard door
Mirror in a niche
A mirror in a niche must be measured very precisely. Measure the width and height in several places, because walls and tiling are often slightly crooked. Measure:
- width top, middle and bottom
- height left and right
- depth of the niche
- any kit space
Use the smallest size as a starting point and leave enough room. A mirror that is seated too tightly in a niche can break when placed.
Mirror on closet door
A mirror on a cupboard door should not be too heavy. The door and hinges must be able to support the weight. NB:
- thickness and weight of the mirror
- door type and hinge strength
- flatness of the surface
- glue or fastening
- space around the door
Thinner mirror glass is often used for cabinet doors, sometimes with security foil on the back.
Safety mirror: when necessary?
An ordinary mirror can shatter if broken. In some places a safety mirror is more sensible, for example a mirror with safety foil on the back. A safety mirror is recommended for:
- gyms, schools and dance studios
- children's areas and changing rooms
- public toilets and shops
- healthcare institutions
- large full-length mirrors
The foil helps keep shards together if the mirror breaks. Would you like to know more about safe glass? Read what exactly tempered glass is.
How do you measure a mirror to size?
Always measure in millimeters and measure in multiple places. For a standard wall mirror measure:
- desired width and height
- position on the wall
- distance to sink, lighting and sockets
- any space for sealant or clips
For a mirror between walls or tiles, measure extra carefully: width top, middle and bottom, and height left and right. Use the smallest size and allow for placement clearance. Always write the size as width × height, for example 800 × 1200 mm.
A detailed explanation can be found in measuring glass.
How heavy is a mirror?
Mirror glass weighs approximately the same as normal glass: on average approximately 2.5 kg per m² per millimeter of thickness. A mirror of 1000 × 1000 mm is 1 m².
| Thickness | Weight (per m²) |
|---|---|
| 4 mm | about 10 kg |
| 6 mm | about 15 kg |
| 8 mm | about 20 kg |
A large mirror can therefore be heavy. Always check whether the wall, kit or mounting can support this weight.
Common mistakes with custom mirrors
- Using the wrong sealant — always use mirror sealant; Regular mounting kit can damage the mirror layer.
- Measuring too tight — a mirror must be able to be placed without tension; keep enough slack.
- Disregard moisture — in bathrooms, moisture can damage edges; ensure ventilation and proper installation.
- Choose glass that is too thin for large mirrors — with large mirrors, 6 mm often feels firmer than 4 mm.
- Do not select an edge finish — visible edges must be neatly and securely finished.
- Seal the mirror completely all around — this allows moisture to remain behind the mirror.
- Do not check wall — a crooked or dirty wall can cause poor adhesion or tension in the mirror.
Order a custom mirror checklist
- Where will the mirror be hung, and is it a dry or damp room?
- What width and height do you want, and did you measure in millimeters?
- Is the wall flat and strong enough?
- Do you choose 4 mm or 6 mm?
- Are the edges visible, and what edge finish do you want?
- Do you want straight or rounded corners?
- Is safety film necessary?
- Do you mount with a mirror kit or clips, and is the kit suitable for mirrors?
- Is there sufficient ventilation behind the mirror?
- Are holes or recesses necessary?
Conclusion
A custom mirror is a great solution when standard sizes do not fit properly or when you want a sleek finish. For most applications, 4 mm mirror glass is sufficient; for larger mirrors or luxurious wall mirrors, 6 mm is often a better choice.
Pay particular attention to installation: always use special mirror kit or suitable mirror mounting. The wrong sealant can damage the reflective layer and cause black spots or brown edges. For visible edges, choose a neat edge finish, such as flat poly cut or facet cut. Always measure the mirror in millimeters, leave sufficient space and check whether the wall is flat and strong enough.
Read more: edge finishing of glass · which kit do you use for what · what glass thickness · measure glass · what is tempered glass
Get started yourself? Put together your custom mirror immediately, or view all the options for custom glass.